
Strata Repairs and Maintenance
Lesson 13: Silicone, caulking and small timber repairs
Goal: seal joints that keep water out, fill gaps so paint looks clean, and repair the small timber items that get knocked about.
Silicone and caulk are cheap, quick and stop a lot of water damage. Done badly, they look terrible and fail within months.
Silicone or acrylic?
| Product | Use it for | Don’t use it for |
|---|---|---|
| Neutral cure silicone | Wet joints that move: bath, basin and shower edges, around window frames, where tiles meet a benchtop | Anything you’ll paint (paint won’t stick) |
| Sanitary silicone (with mould inhibitor) | Bathrooms, laundries, kitchens | Outdoors on some stone (check the label) |
| Painter’s acrylic gap filler (caulk) | Gaps between skirting, architraves and walls, cracks along cornices, before painting | Wet areas or joints that get wet |
| Polyurethane sealant | External gaps around frames and between masonry and other materials | Inside wet areas (unless rated) |
Manufacturer says: check the cartridge for the surfaces it suits, the cure time before it can get wet, and whether it can be painted.
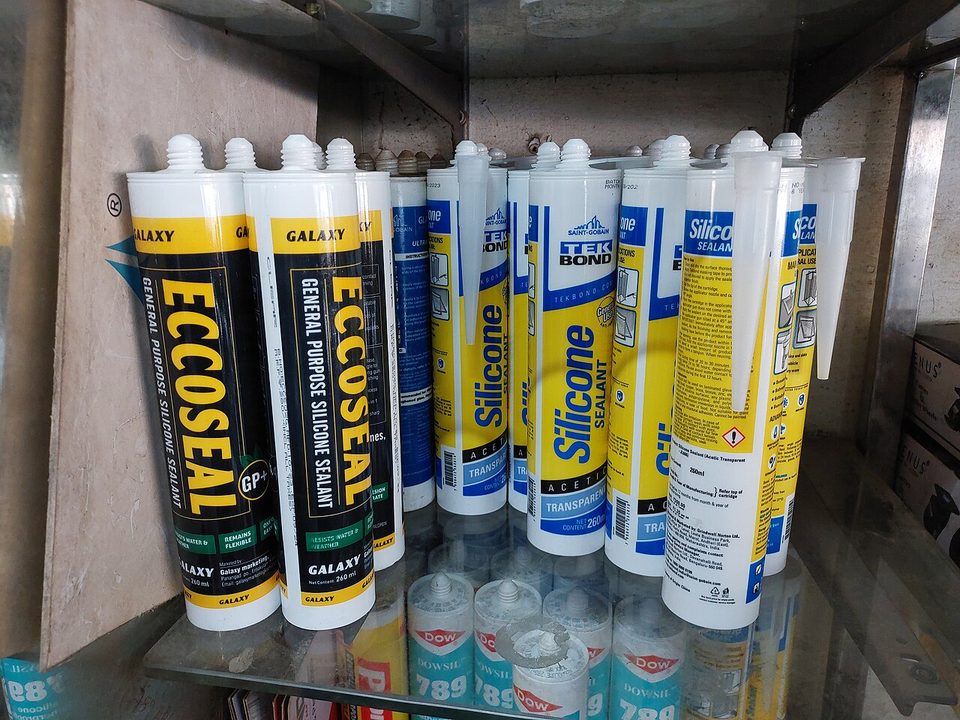

Resealing a wet area joint
- Strip all the old silicone with a plastic scraper or a silicone removal tool, then a sharp blade held flat. Every scrap: new silicone won’t stick to old.
- Clean the joint with a silicone remover or methylated spirits, and kill any mould (Lesson 8).
- Dry it completely. Ideally leave it overnight, with no showers above or in it.
- Mask both sides of the joint with painter’s tape, leaving a gap the width you want the bead.
- Cut the nozzle at 45 degrees, slightly smaller than the gap. Run a steady bead in one pass, pushing the silicone into the joint.
- Tool it: run a wet finger or a profile tool along the bead to press it in and shape it.
- Pull the tape off straight away, at an angle away from the bead.
- Keep it dry for the cure time on the cartridge (often 24 hours).
Practitioner tip: fill a bath with water before sealing its edge. The bath drops slightly under the weight, and sealing it there stops the joint tearing the first time someone gets in.
When it isn’t a silicone job. If water is getting under or through the tiles (cracked grout, drummy tiles, water appearing below), the waterproof membrane may have failed. Resealing the joint won’t fix that, and redoing the membrane is licensed waterproofing work (Lesson 1). Report it with the evidence from Lesson 4.
Caulking before painting
Gaps where walls meet skirting boards, architraves, cornices and window frames make a fresh paint job look scruffy.
- Clean and dry the gap.
- Run a thin bead of acrylic gap filler.
- Smooth it with a damp finger or sponge and wipe off the excess.
- Let it dry (check the tube), then paint.
Big gaps (over about 6 mm) need a backing rod first, or filling in two goes.
Skirting boards and architraves
These trims are usually MDF or timber, glued and nailed to the wall.
- Dents and chips: fill with a two-part filler or timber filler, sand, prime and paint in enamel.
- Swollen MDF (after water damage) doesn’t go back to its shape. Cut out the damaged length at a joint or with a 45 degree cut, and replace it with a new piece of the same profile (take an offcut to the timber yard to match).
- Coming away from the wall: re-fix with construction adhesive and a couple of nails or screws into the studs, punched and filled.
Timber handrails and edges
- Splinters and rough patches on handrails are a safety issue. Sand smooth, then re-coat in the original finish.
- Loose handrail brackets: tighten, or re-fix into solid timber or masonry. A loose stair handrail is urgent: people rely on it.
- Timber rot in external timber (a door sill, a fascia, a fence post): small soft spots can be cut out and filled with an epoxy timber repair system. Larger rot, or anything structural (posts holding something up, balcony timbers), goes to a carpenter or builder.
At Jacaranda Court
Lot 12 reports water dripping into the lobby ceiling under their bathroom. You find the silicone along their bath edge black and lifting, with a gap behind it. The bath edge is part of their lot, so the owner books you privately (Lesson 1) to strip and reseal it. The ceiling below dries, gets stain blocker and paint, and the leak doesn’t return. If it had, the next call would have been to a waterproofer.
On the job 13
Check the silicone in your building’s common wet areas (laundry, toilets, cleaner’s room). Note any joint that is black, lifting or cracked and schedule them for resealing on a dry day.
Sources
- Sealant manufacturers’ application instructions (printed on each cartridge)
- NSW Health, Mould (cleaning mould from joints)
- Queensland Building and Construction Commission, When you need a licence (waterproofing and carpentry)
Quick quiz
Pick an answer for each question. Nothing is recorded.
General education, not trade or legal advice. Licence limits, asbestos rules and window safety laws differ by state and change, so check your regulator before you quote or start. If a job involves electricity, plumbing, gas, waterproofing, fire doors or anything you think may contain asbestos, stop and get the right licensed trade.