
Strata Repairs and Maintenance
Lesson 3: Your repair kit
Goal: carry the right kit so most jobs get finished on the first visit.
A good handyperson’s reputation comes from finishing jobs, not starting them. Most return visits happen because a part or a tool wasn’t in the van.
The everyday bag
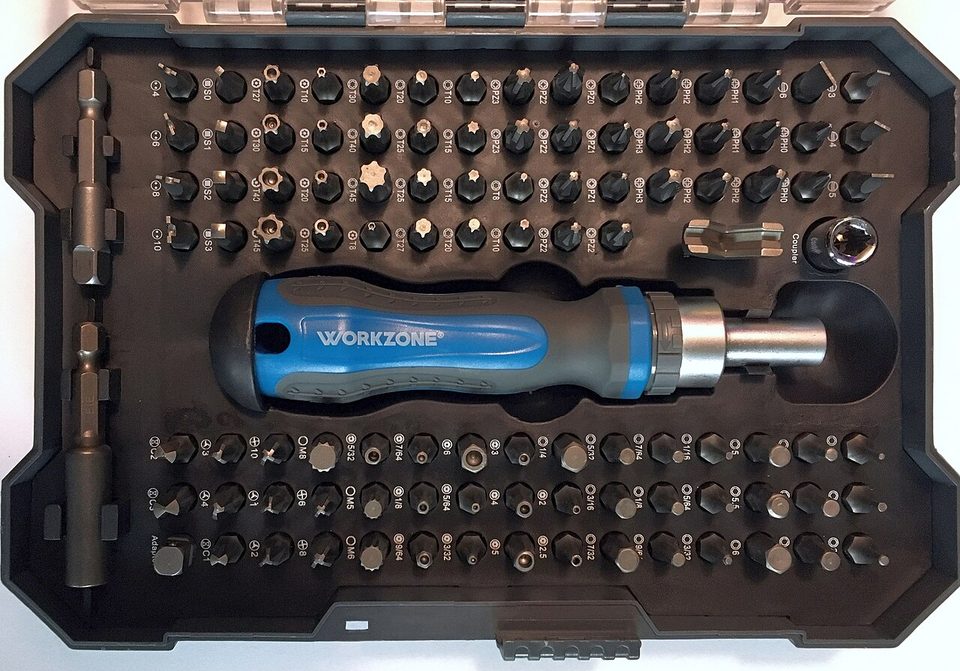

| Tool | What it’s for |
|---|---|
| Cordless drill/driver and an impact driver | Screws, pilot holes, mixing small batches of compound |
| Bit set (PH1, PH2, PZ2, flat, Torx T10 to T30) and Allen keys (1.5 to 6 mm) | Door and window hardware; lever grub screws are often 2.5 or 3 mm |
| Tape measure, pencil, 600 mm spirit level | Measuring backsets, setting out patches, hanging things straight |
| Utility knife and spare blades | Cutting plasterboard, scoring paint, trimming silicone |
| Stud finder and a cable and pipe detector | Before you drill or screw into any wall |
| Torch and head torch | Ceiling spaces, cupboards, dark plant rooms |
| Moisture meter | Is it still wet? Lesson 4 |
| Phone camera | Before, during and after photos for every job |
| P2 masks, gloves, safety glasses, ear muffs | Lesson 2 |
The patching and painting kit
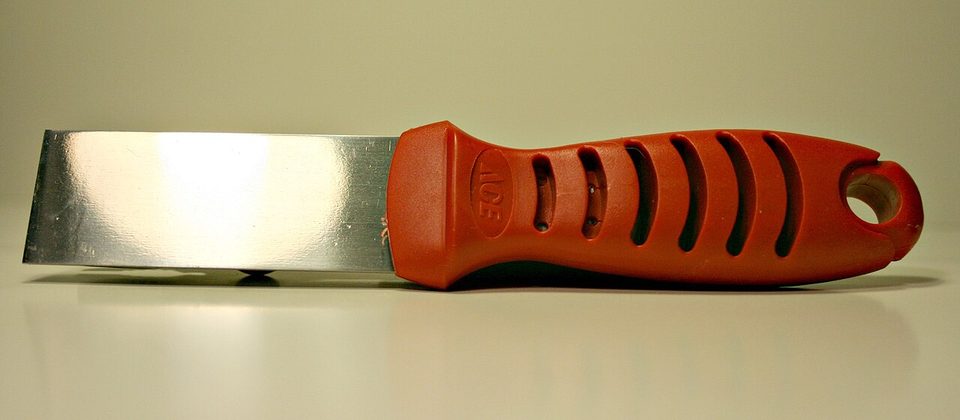

- Broad knives (50, 100 and 250 mm) and a small hawk or tray for compound
- Ready-mixed lightweight filler for small holes, and base coat and topping compound (or an all-purpose one) for bigger patches (Lesson 5)
- Self-adhesive mesh patches (50, 100 and 150 mm), paper and mesh joint tape
- A plasterboard saw (jab saw) and offcuts of 10 mm and 13 mm plasterboard
- Sanding block, sanding sponges and a pole sander; 120 and 180 grit paper
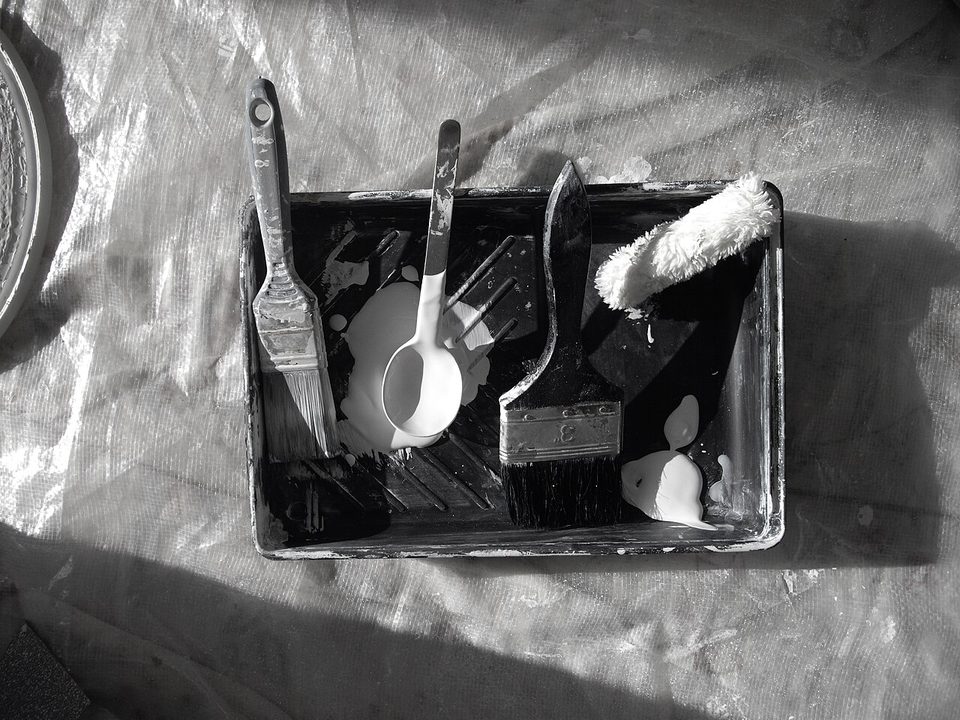
- Brushes (50 mm angled sash, 75 mm), a 230 mm roller frame with medium-nap covers, a tray and a short extension pole
- Stain-blocking primer (Lesson 7), a plasterboard sealer, and the building’s touch-up colours
- Drop sheets (canvas, not plastic, on floors: plastic is slippery), painter’s tape, sugar soap, rags

The hardware box
Keep a small stock of the hardware your building actually uses. Every building is different, so build it from what you replace:
- spare levers and latches in the building’s brand and finish (passage and privacy sets)
- door stops, buffers, hinge screws in 30 and 50 mm lengths, and longer 65 mm screws for fixing hinges into the frame
- spare window catches, handles and winder parts for each window brand on site
- silicone (neutral cure, white and clear), a caulking gun, painter’s acrylic gap filler
- wall plugs and anchors for plasterboard and masonry
The building’s paint record
Practitioner tip: the most useful document in the toolbox isn’t a tool. It’s a list of every paint used on common property: brand, colour name and code, sheen (flat, low sheen, semi-gloss), and where it goes. Get it from the last painting contractor’s handover, or take a chip to a paint shop to match. Keep a labelled litre of each colour on site.
| Area | Product | Colour | Sheen |
|---|---|---|---|
| Corridor walls | (brand) interior acrylic | (name and code) | Low sheen |
| Corridor ceilings | Ceiling paint | Ceiling white | Flat |
| Door frames and doors | Water-based enamel | (name and code) | Semi-gloss |
At Jacaranda Court
Your predecessor left a box of mismatched levers and three half-tins of paint with no labels. You start the paint record with the strata manager’s copy of the 2019 repaint specification, buy one litre of each colour, and label them. The next scuffed corridor takes 20 minutes instead of a week waiting for a colour match.
On the job 3
Start your building’s paint record and hardware list. For each, note brand, model or colour, and where it is used. Photograph one of every lever, catch and window handle in the building.
Sources
- Gyprock (CSR), Plasterboard installation and repair guides
- Australian Government (2016), Lead Alert: The six step guide to painting your home, 5th edition (preparation and clean-up)
Quick quiz
Pick an answer for each question. Nothing is recorded.
General education, not trade or legal advice. Licence limits, asbestos rules and window safety laws differ by state and change, so check your regulator before you quote or start. If a job involves electricity, plumbing, gas, waterproofing, fire doors or anything you think may contain asbestos, stop and get the right licensed trade.